Adding storage solutions to your garage? Constructing your own garage shelving can save you money while giving you a designated space for garage storage and organization. Check out this guide for step-by-step instructions and organization tips for DIY garage storage shelves!
Supplies Needed:
- 10’ 2x4 boards (x8)
- 3″ wood screws (1 box)
- Drill set
- Gloves
- Hand sander/sandpaper
- Long level
- Miter saw
- Safety goggles*
- Screwdriver set
- Speed square
- Tape measure
- Optional: Wood stain, polyurethane, & rags
Cut List:
- 57″ 2x4 (x3) – top shelf
- 54″ 2x4 (x6) – middle & bottom shelves
- 49.5″ 2x4 (x4) – shelf legs
- 18″ 2x4 (x6) – brace pieces
*Remember to use caution and safety gear when using power tools and stain.
Step-by-Step Instructions for DIY Garage Storage Shelves
Whether you’re an experienced builder or new to DIY projects, here are six steps to construct your own garage shelving!
Step One: Plan Your Project
Before you start building garage storage shelves, ensure your workspace is large enough and ventilated before you prep the area. Then, ask yourself the following questions to ensure you’re ready to begin:
- Are these shelves the right size for my space? If not, do I need to adjust the measurements to make them bigger or smaller?
- Do I have all the tools I need on hand, or do I need to borrow or buy new equipment?
- Should I adjust the cut or material list to customize the project to my preferences?
- Is my workspace big enough to do this project safely?
- How long will this project take to finish?
Step Two: Measure & Cut the Wood
When you’re ready to begin cutting the lumber, put on safety goggles and gloves for protection. To help ensure accuracy, use a tape measure and pencil to mark where each piece of wood needs to be cut—and double-check to verify you measured correctly again—before using your saw. Cut the wood for your shelving unit using the following directions:
- Cut two 2x4s into three 57″ pieces for the top shelf pieces.
- Take three new 2x4s and cut them into six 54″ pieces—these will be your middle and bottom shelf pieces.
- Cut two new 2x4s into four 49.5″ pieces—these will serve as the shelf unit’s legs.
- With the last 2x4, cut six 18″ pieces—these will serve as the brace pieces.
Note that there will be some wood left over after some of these cuts.
Step Three: Sand & Stain the Wood
Once your wood is cut to size, sand it down as needed with a medium-grit sandpaper to take care of any rough spots, then wipe up any dust. If you’d like to apply stain for a more polished look, sanding will also help create a smooth surface for the stain to adhere to. Apply a thin coat of stain using a clean rag and wipe off any excess to achieve an even color. Apply additional coats for a darker finish if desired, letting the stain dry completely between coats. Once you’re finished, brush two coats of polyurethane across everything to help seal the stain and protect the wood.
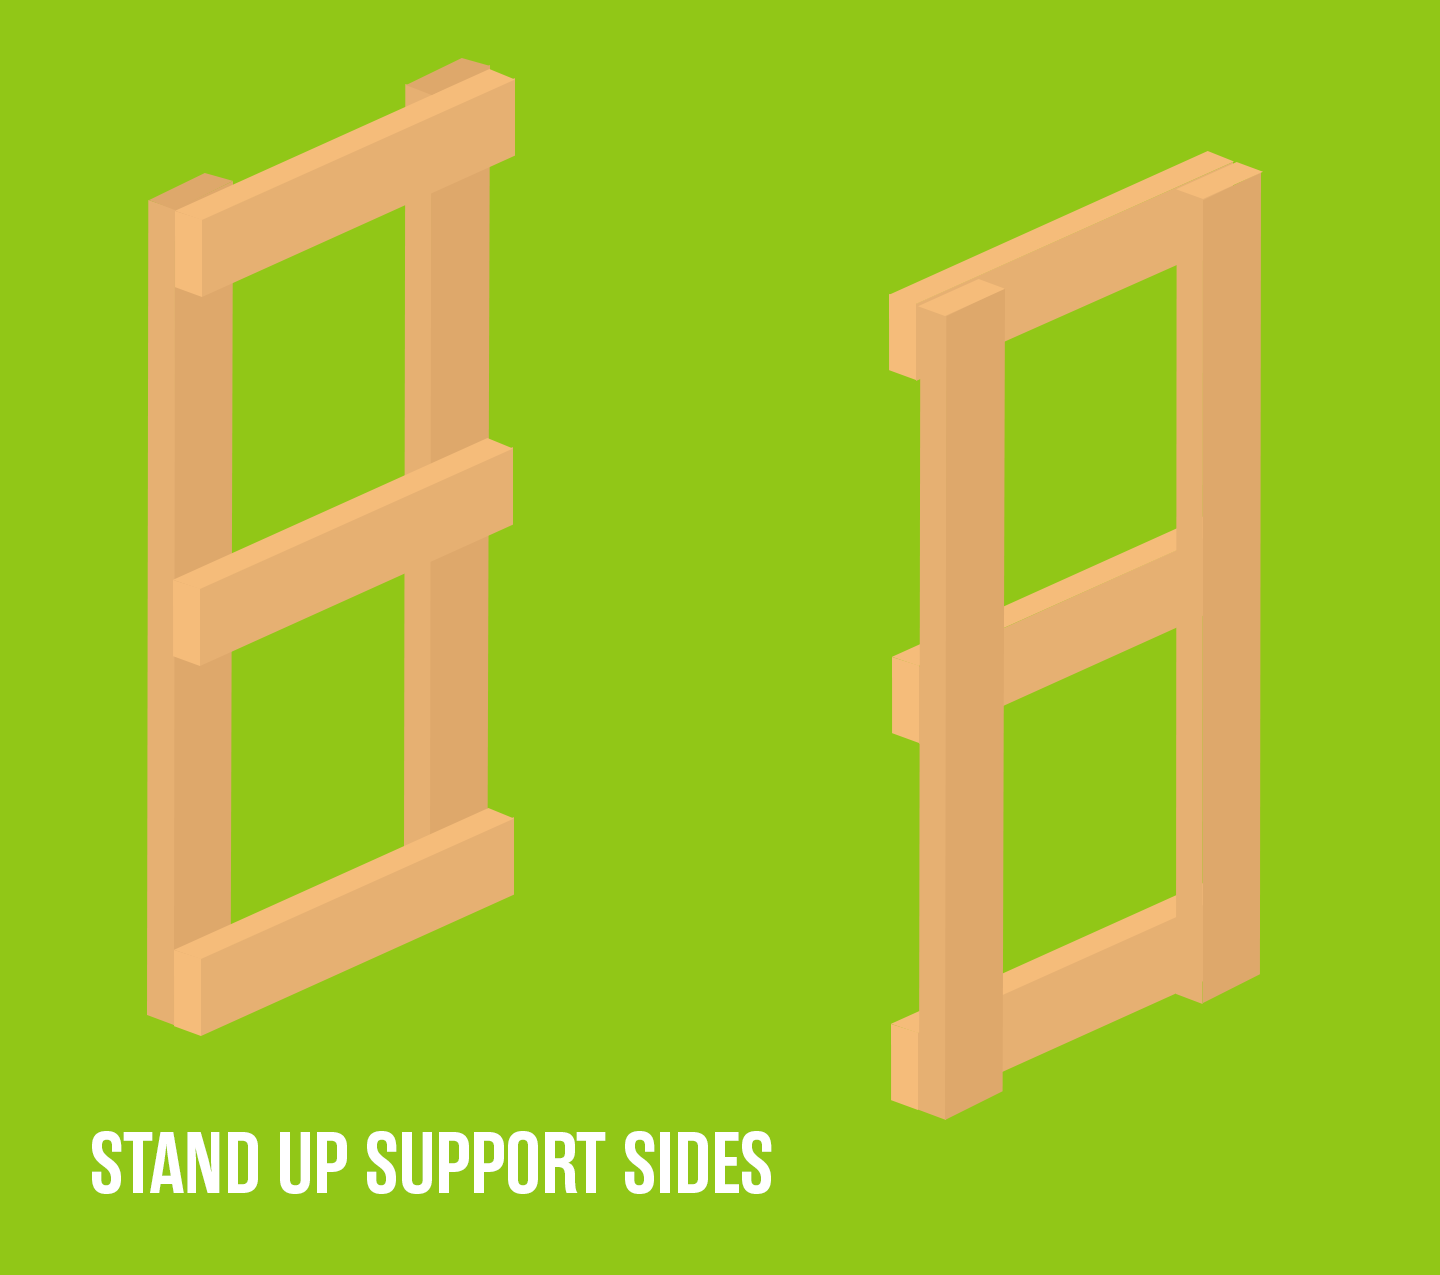
Step Four: Assemble the Sides
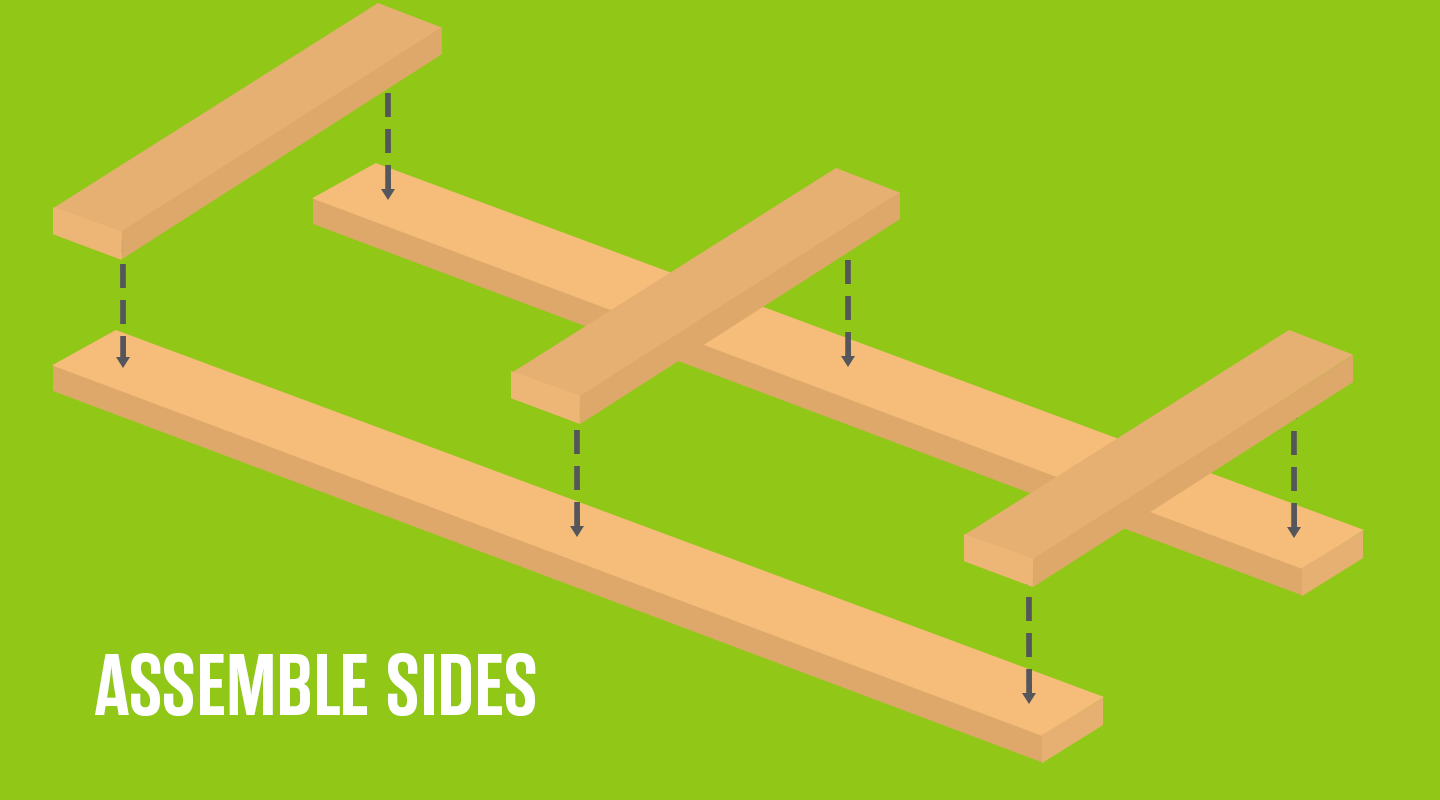
Now that the wood is prepped, you’re ready to start constructing your shelving unit. To begin assembling the sides of your storage shelves, follow these directions:
- Lay two 49.5” boards flat on the ground with the good side facing down.
- Lay one of the 18″ boards across the two 49.5″ boards so it’s flush with the edges and ends. Drill four 3″ wood screws into both sides of the 18″ board to anchor it to the 49.5″ legs.
- Attach another 18″ board to the other side of the two 49.5” boards in the same manner.
- Measure and mark the midpoint between the two 18” boards, then screw in one more 18” board at the marked location.
- Create the second side by repeating this step.

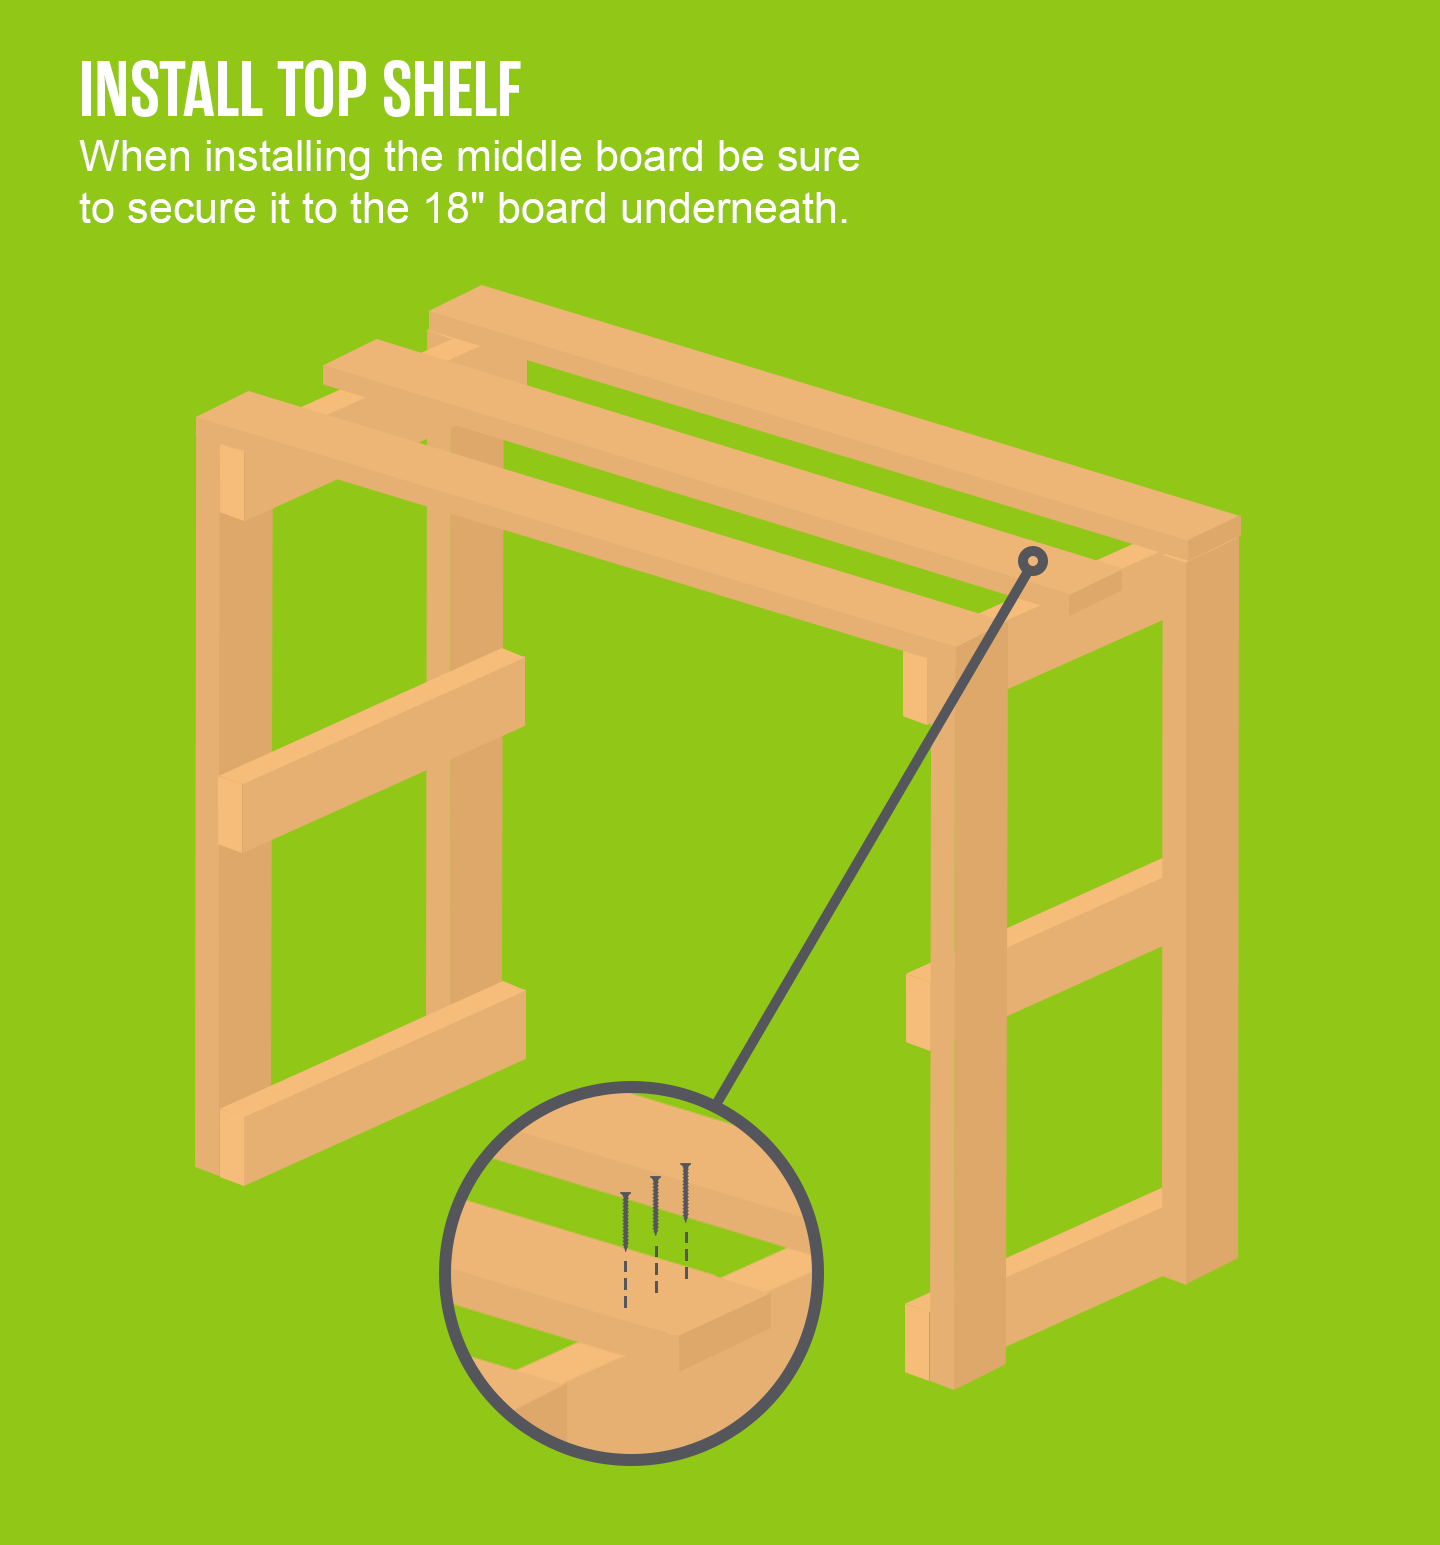
Step Five: Finish the Frame
With the sides of your shelves complete, you can finish constructing the frame. Ensuring the frame is square and level as you tighten the screws, follow these instructions to create and attach the top shelf:
- Stand up the sides with the 18” boards facing inward.
- Lay one 57″ board across the top of both sides, ensuring its flush with the edges and ends. Drill three 3″ wood screws into the top of the 57″ board on both ends to anchor it to the side pieces.
- Repeat the previous instruction with another 57″ board on the other end.
- Measure and mark the midpoint between the two 57″ boards, then screw in one more 57″ board at the marked location. Note that this middle board will be anchored to the top brace, rather than a leg.

Step Six: Install the Middle & Bottom Shelves

Now that your frame is complete, you can attach the other shelves. As you install each shelf, continue checking to ensure it’s level and stable. Here’s how to attach the middle and bottom shelves:
- Take three 54″ boards. Lay two of them across the 18″ boards in the middle of the frame, ensuring they’re flush with the edges and ends.
- Measure and mark the midpoint between the two 54″ boards to determine where the third 54″ board should be attached.
- Drill three 3″ wood screws into each end of the 54″ boards to anchor them to the 18″ boards.
- Repeat one more time to create another shelf across the bottom 18″ boards.

Tips for Organizing Your DIY Garage Shelves
Garage shelf organization can take some time, but the result of a decluttered garage is worth it! Check out these helpful layout ideas for your garage storage shelves.
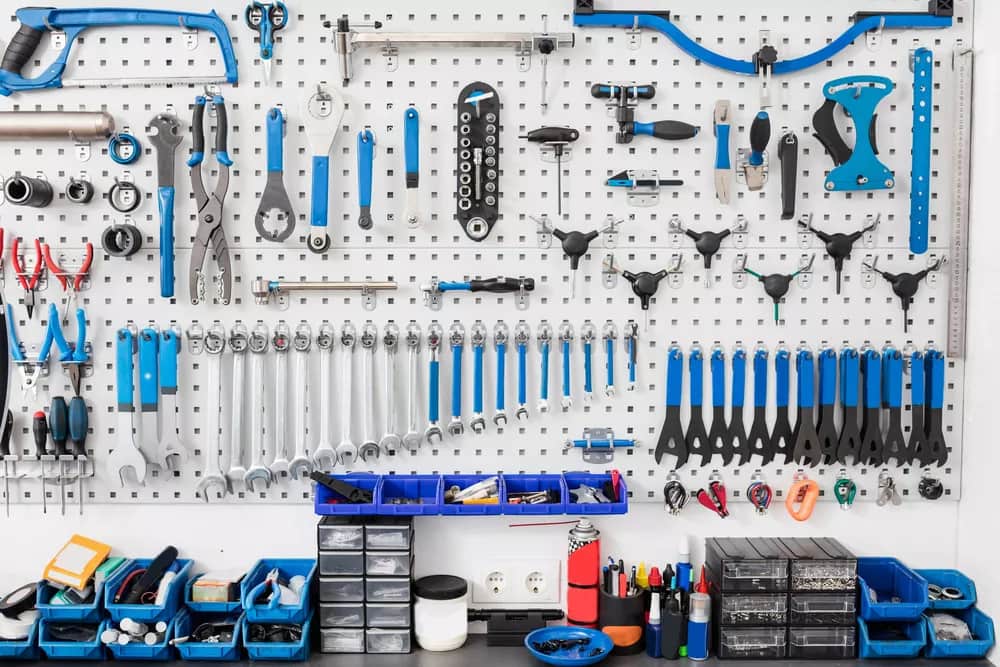
Keep Small Objects Organized
If you’re planning to store small, miscellaneous items on your garage shelves, there are plenty of garage storage tips you can incorporate! Consider adding thick shelf liners to help prevent smaller objects from falling through gaps. Need to organize especially small items like nails and screws? Invest in compartmentalized storage cases or sliding drawers. Or place drawer organizers on top of your shelf liners to help separate small items and keep them from sliding around!
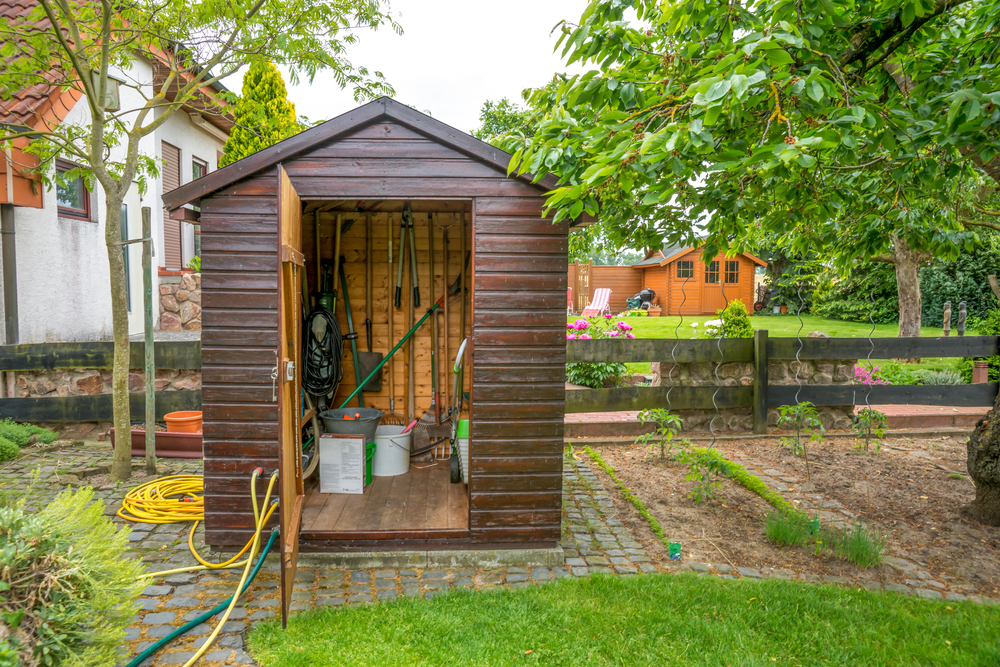
Place Frequently-Used Items Within Reach
Always searching for lawn tools, cleaning supplies, or recreational equipment? Place your most frequently-used items within easy reach for the ultimate convenience! When organizing garage shelves, remember to put any items you use on a regular basis at eye level so you can easily access them when needed. Lesser-used items—like camping gear, old paint cans, or holiday decorations—can be placed in harder-to-reach places.
Store Items in Totes
Keeping your items in garage storage totes is a great way to organize your shelves while protecting your belongings at the same time. Consider using clear totes so you can easily see the contents inside—or label opaque totes to keep track of where items are stored. Store like-items together so they’re even easier to locate and access when you need them. Be sure to place your largest and heaviest garage storage bins on the bottom shelf for stability.
***
Running out of space in your garage for lawn tools, equipment, and other belongings? Extra Space Storage offers convenient self storage across the nation to help. Find self storage near you!